
Advanced Typography
LECTURES
Illustrator to FontForge
Notes
- Export each glyph as an individual SVG Asset
- Import them into FontForge individually
- Fill in Font Information
- Adjust metrics of side bearings and kern by classes
Tutorial Video 2
Illustrator to FontLab5 Demo
Notes
- In AI, merge the x height, cap height, ascender and descender of the letterforms
- Merge the letterforms to one path fill. Outline strokes should be converted to path fills
- Have as few nodes as possible
- In FontLab, create a new font and key in the font info, names, weight, width
- Key in the metrics and dimensions of the measured letterforms. The underline sits below the descender
- To import the glyphs into FontLab, place the x and y coordinates near the baseline and left side bearing of the glyph. Copy and paste each individual glyph into FontLab
- In a new metrics window, adjust the side bearings for each individual glyph, grouping of similar side shaped letters would help with efficiency
- Once that is done, kerning can begin in a new kerning window
Tutorial Video 3
FontLab7 Demo
Notes
- Download demo of FontLab from the original website
- When first pasting out glyph from AI into FontLab, ensure 'paste as vector' and 'copy in place' is selected
- Adjustment of metrics and kerning can be done in a new metrics window and a new kerning window
- When exporting, select 'export as'
INSTRUCTIONS
I had 6 ideas for this assignment. All of them came from band albums, except the last idea, which was to continue my own font from the first assignment, Task 1 / Exercise 2 - Part 1: Type & Play. After completing that assignment, I actually quite liked the font and felt it was a shame that it was only 5 letters instead of a whole set. However, I was not sure if this idea fit the brief, so I made sure to have plenty of other ideas with it.
I went through my Spotify playlists and liked songs just trying to find album covers with a font that was inspring enough to me. I chose 2 different Cream album covers because I have always loved these album covers. I admire the font on the Wheels of Fire album cover but hate the font on the Disraeli Gears cover (though I think it was on purpose to look annoying). As for the other 2 album covers and Gorillaz band logo, they were just fonts I liked and figured I could continue or be inspired from.
Drafts

|
| Figure 1.1. Draft Sketches, Week9 (26 Oct - 2nd Nov 2022) |
I narrowed my choice down to three options, Cream's Wheel of Fire, Jungle, and a continuation of my own cloud font from previous assignment. I did a quick sketch of the first 2 ideas. I quickly realised that the first idea would be a little too complicated in a short amount of time as it would require alot of fine tuning and adjusting.
I was then left with two different ideas and still was not sure which to work with. I tried sketching out a few letters from the Jungle idea, but I realised it would be easier to work in AI straight as it has alot of straight lines and symmetry.
So I went into AI and tried out a few ideas. Although I kind of liked a few, such as the A,C and D. I was struggling a little with some of the other letters, espeically B. I then figured that this, just like Cream's, would take too long with the short amount of time I have left for this assignment. Considering the fact that we would need to complete the whole uppercase, lowercase, numbers and symbols, I knew that I would not have enough time to be trying to think of how to make a whole new font work.
Leading me to realise, I should just continue with what I already knew, which was my own cloud font design. Since I already have the baseline understanding of how the shapes work, it would be easier and more efficient to work on.
Letterforms Progress

|
| Figure 2.1. Uppercase Draft, Week9 (26 Oct - 2nd Nov 2022) |

|
| Figure 2.2. Progression of Uppercase Forms, Week10 (2nd - 9th Nov 2022) |

|
| Figure 2.3. Compilation of Uppercase Progression Stages, Week10 (2nd - 9th Nov 2022) |
I began with just drawing out the uppercase letterforms, giving me the Uppercase Draft. I used Adobe Caslon Pro as a reference to the shape of the letter. To keep it consistent to my cloud shape, I winged it and just made it wavy and messy.
After getting all the shapes, I began to refine the shapes with consistency of shapes, thickness, slants, etc (Uppercase Progression 1). I seperated the letters by the visual characteristics and worked on them one by one in order of: rounds, thin across, slants, straight stands and the extras (descenders and curve). The progress can be seen in Figure 2.2., top left to right and bottom left to right.
After getting the shapes consistent, I worked on the consistency of bumps of the forms. I also ensured that the rounded/curved letters overshot the baseline a little for visual similarity. Once the bumps were consistent enough, I duplicated the letters to create the stroke version behind it.
Lowercase

|
| Figure 3.1. Lowercase Draft, Week10 (2nd - 9th Nov 2022) |

|
| Figure 3.2. Progression of Lowercase Forms, Week 10 (2nd - 9th Nov) |

|
| Figure 3.3. Compilation of Lowercase Progression Stages, Week10 (2nd - 9th Nov 2022) |
Just like the uppercase forms, I drew the forms of the letters with pen tool and adjusted them based on the similar shapes, slants, etc. As seen in Figure 3.2, I worked on the straight stems, followed by the curves/rounded shapes, the slants, ascenders & descenders and the shoulders.
Figure 3.3. shows the compilation of the draft letterforms, the adjusted shape letterforms and finally, the adjusted cloud bumps letterforms. I placed them side by side with the uppercase letters to keep an eye on consistency between both the upper and lowercase.

|
| Figure 6.1. Symbols Progression, Week11 (9th - 16th Nov) |

|
| Figure 6.2. Numbers Progression, Week11 (9th - 16th Nov) |
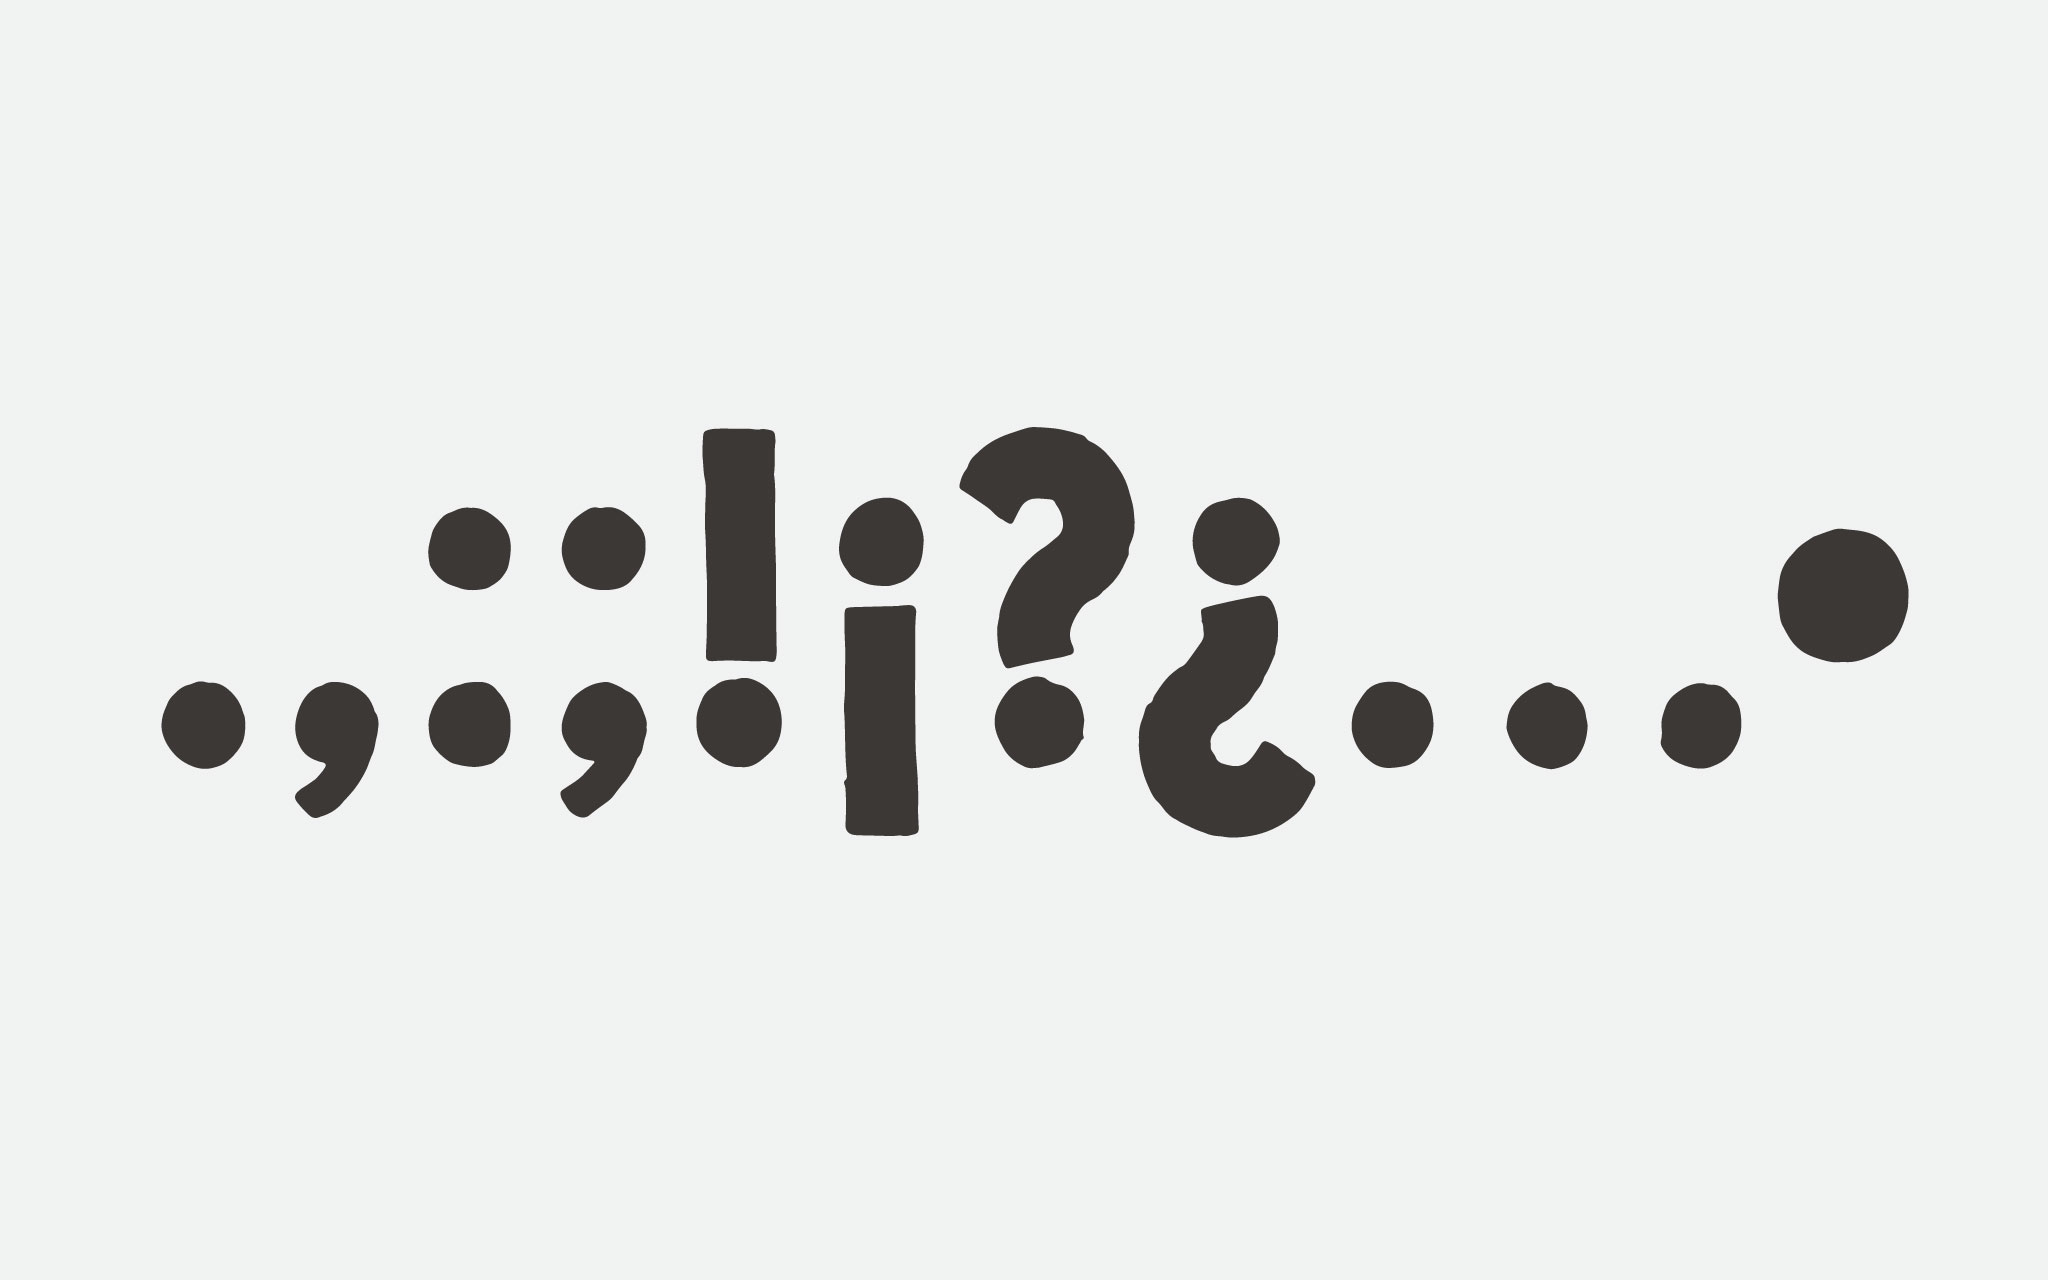
I worked on the symbols before numbers. Funnily, for an unknown reason, I had quite alot of fun when working on the symbols and hated working on the numbers. We were given a list of 32 symbols and were required to create atleast half of that. I ended up making 22 symbols as these were symbols I feel are more commonly used (based on my own usage of them). By now, I also had a rough idea of what the application would be for my font, a magazine masthead. So, I designed the symbols with that in mind, making symbols that my fictional magazine would likely use.
For the numbers, I scrolled through a bunch of serif and sans-serif fonts and looked at the different shapes of the numbers. I kind of just winged the shapes of my numbers and made it look similar to a shape of whichever I liked most. I then very quickly worked on the consistency of thickness and bumps and called it a day.

|
| Figure 7.1. FontLab Issues, Week11 (9th - 16th Nov 2022) |

|
| Figure 7.2. FontLab Kerning, Week11 (9th - 16th Nov 2022) |

|
| Figure 7.3. Exported Size Comparison w/ Adobe Caslon Pro, Week11 (9th - 16th Nov 2022) |
I imported my letters into FontLab as instructed, following the Lecture Video Tutorial. However, I was faced with a problem, as seen in the first row of Figure 7.1.. Although the outlines were no longer outlines and each letter is one merged fill, the thinner fill (that creates the outline stroke effect) would end up being messed up when imported.
I then re-imported my letters without the thinner outline and attempted to use FontLab's effect tools to try simulate the effect. That too did not work as there are too many nodes that make the bumps, which created the second row of problems within Figure 7.1.. Even after cleaning up the nodes with FontLab's Simplify, Clean Up, Harmonize and Balance contour tools, it still would not work (as seen in the third row of Figure 7.1.).
So, I gave up and decided to just work on it and export it as the plain fill. I then finally moved on to kerning my letters, see Figure 7.2.. I started by using the sentences given by FontLab and continued with pairing every single capital letter with every single lowercase letter (this took forever). Then I started typing in random sentences, kerning all the letters, eventually I got tired thinking of sentences and copy pasted my script for my focus group that I conducted for Design Research Methodology and just kerned that.
I then exported it to start working on my collateral. However, when I first exported it, the font was awfully tiny, my 400pt is a midget compared to the 400pt of Adobe Caslon Pro, see Figure 7.3. top. I frantically googled if there was a way to change it within FontLab instead of re-importing everything again, and thankfully there is. I brought down the Units Per eM value and compared it to the size of Adobe Caslon Pro as a rough guide. After a few trials and exports, I managed to get it to be rougly the same size, see Figure 7.3. bottom, where both are 72pt.

|
| Figure 7.4. Adjustment of Nodes in AI, Week12 (16th - 23rd Nov 2022) |

|
| Figure 7.5. Comparison of Set 1 & Set 2 Import Sizes, Week12 (16th - 23rd Nov 2022) |

|
| Figure 7.6. FontLab Kerning, Week12 (16th - 23rd Nov 2022) |
Due to expanding shape of the stroke in AI, it automatically creates alot of nodes. So, I was advised to clean up the nodes in AI before importing it into FontLab as this should help FontLab with not messing it up. Figure 7.4 shows the before (left) and after (right) of cleaning up the nodes in AI. I did not clean it up to the max as there are alot of glyphs to complete and I am on a time crunch, so I did what I thought would be good enough. I tidied up the whole uppercase and tried importing that into FontLab to see if it would work, however, again, I faced the same issue as before.
I then remembered something from when my senior, Mohamed Hammam, gave a short crash course on FontLab. He mentioned something along the lines of "After you've imported it in the [blank] by [blank] size" (my memory is foggy) and this got me thinking as to why my font was extra small when I exported it the first time. So, I scaled my letters up and imported them again for the millionth time, and it worked. Figure 7.5. shows the comparison of what I imported for Set 2 with what I was importing for Set 1 (the tiny things at the bottom). It also turned out that I did not even need to clean the nodes up after scaling it, so I apparently wasted my time on that.
I then finally moved back into kerning my letters, paring every capital letter with every lowercase letter and using my focus group script again. This time, I kerned the capital letters with lowercase letters and turn it into a word (most are non-existent words) as a more effecient kerning method and made sure to kern my numbers as well.

|
| Figure 8.1. Application Collateral Set 1, Week11 (9th - 16th Nov 2022) |
I knew the Set 1 font was plain, boring and frankly, looked a little weird and jaggered without the outline. So, I manually did it by converting my text to stroke in AI for the application on my collateral. As for my application, when I first created this font for Task 1: Exercise 2, the final outcome was to place the font on an image that related to the characteristics of our font. And when I did that, I thought "oh if only I could spell a word with these 5 letters, I could pretend it's a title for a magazine", because that's just what it looked like to me. So, I knew when designing this font, it would be a magazine masthead/header font.
As for the magazine's personality, I went based off the zine I created ages ago as well as what I am interested in and what would work together to create a magazine. Basically, if I were to create a magazine, this would be it. Essentially, the magazine would cover art, design, music and the youth pop culture, issues, etc. It would be the magazine "where it all meets". An artsy, bubbly, pop-ish, dream-like, fun magazine, while also not afraid to cover the heavy and serious topics like mental health, discrimination, etc. as long as it's within the categories of art, design and music.
I used my Zine that I made ages ago as a cover and then made the magazine cover. I figured I could use the zine cover as an application, as I thought it would be cool if this magazine were to release a zine after each magazine issue containing snippets of behind-the-scenes of making it or featuring some stories that did not get published in the magazine.
To design a magazine cover, one would need to know the theme of the magazine's issue as each issue has a different theme. My first issue would be centered around "Our Emotional Safe Space", where it talks about how artists, designers and musicians find comfort when creating their work and how the majority gen-z are able to emotionally connect and find comfort within what they create. In simpler words, art, design and music are where people find safety and comfort and are also able to express their emotions easily with it. I quickly painted what I feel is an abstract representation of emotions in Photoshop and used that for the magazine cover and collateral. I chose stickers as I have once recieved free stickers with a magazine purchase.

|
| Figure 8.2. Magazine Article Spreads, Week12 (16th - 23rd Nov 2022) |

|
| Figure 8.3. Magazine Cover Issue Variations, Week12 (16th - 23rd Nov 2022) |

|
| Figure 8.4. Magazine Merchandise w/ Variations, Week12 (16th - 23rd Nov 2022) |
For merchandinse this time, I started with the article spreads first because I kind of had a better idea of those. Again, I took a previous assignment to feature in the magazine. I just figured that it kinda fit the theme well. For the second spread, I featured my friend's, Azriq Anwar's, work. He amazingly created two frame by frame animation music videos for a local band. This again, fits my theme. So, I asked him to give me something to quote about how he felt when making his second music video, Baldu, allowing me to have an actual quote instead of dummy text.
At this point, I also realised it would be useful to use both exported fonts, the one with and without the outline. This would help with differentiating the headline with a subhead or highlighted/important text easily. Having the 'without outline' font paired with the 'with outline' also made it look less out of place (weird, boring, plain) while also allowing better legibility for smaller sizes.
I then moved onto the magazine covers. I designed a few, kind of aimlessly at first but after a dinner break and a shower, more ideas came to me. Considering that the covers would need to encapsulate a theme, I orginally designed Issue 3 & 4 (top row most right & two on the bottom row most left of Figure 8.3.) based on the same idea and theme. They were to be a variation of the two most left covers on first row in Figure 8.3. but as a new theme "Juxtaposition". After messing around though, I realised they did not convey that idea so well. I found them to convey two different themes and just tweaked them a lil more to fit it better.
As for the merchandise, I designed a tote bag, a t-shirt and still stuck with stickers as well. The tote bags on the top row of Figure 8.4. were designed to only have a front side design, leaving the back empty. However, I did not like having a blank side as it's boring and a waste of money (hypothetically if this was actually a physical product). I stuck with stickers as they can easily be given as free gifts and are also not too pricey to buy or make (again hypothetically). I created a few variations of the stickers, as seen in the last 3 rows of Figure 8.4.. After all this, I went back into FontLab and adjusted the kernings again.

|
| Figure 9.1. Magazine Cover Issue 01, Week12 (16th - 23rd Nov 2022) |

|
| Figure 9.2. Magazine Cover Issue 02, Week12 (16th - 23rd Nov 2022) |

|
| Figure 9.3. Magazine Cover Issue 03, Week12 (16th - 23rd Nov 2022) |

|
| Figure 9.4. Magazine Cover Issue 04, Week12 (16th - 23rd Nov 2022) |

|
| Figure 9.5. Magazine Article Spread 1, Week12 (16th - 23rd Nov 2022) |

|
| Figure 9.6. Magazine Article Spread 2, Week12 (16th - 23rd Nov 2022) |

|
| Figure 9.7. Magazine Merchandise - Tote Bag, Weekl2 (16th - 23rd Nov 2022) |

|
| Figure 9.8. Magazine Merchandise - T Shirt, Weekl2 (16th - 23rd Nov 2022) |

|
| Figure 9.9. Magazine Merchandise - Stickers, Weekl2 (16th - 23rd Nov 2022) |
FEEDBACK
Week 9
Proposal
The Ideas
- The choice of which to work on is completely up to me
- Since I like the U and E of the Jungle band logo, I can take that and create something new
- The Universal font might be something interesting to look at for inspiration
Week 10
Letterforms Progress
Uppercase Draft (Figure 2.1)
- Looks fine, just remember to keep thickness and bumps consistent
Week 11
Progress
Uppercase & Lowercase
- Looks fine, just continue working on the numbers and symbols
- Fontlab has a feature that can create the a shadow effect for fonts. This can be an alternate to the current outline behind my solid letterforms
- Watch the recorded tutorial on Fontlab in the 'Typography' playlist since I have never used it before
Week 12
Application Collateral (Set 1, Figure 8.1.)
- More research on established magazines with interesting, young, enthusiastic masthead needs to be done
- I can look at New Yorker and Face Magazine for reference
- The masthead needs to be more impactful. Using a container could help with that as it lessens the negative space
- As for application, maybe create a few magazine cover samples, 2-3 article samples and some free gifts for subscribers
REFLECTION
FURTHER READING
Comments
Post a Comment