
13th January - 5th February 2023 / Week 1 - 4
Alana Sofia Othman / 0353451 / Bachelor of Design (Hons) in Creative
Media
Information Design
Information Design
Exercises
Flip Topic 1
Different types of infographics & online tools
Presentation Slides
Flip Topic 2
Saul Wurman’s L.A.T.C.H
Presentation Slides
Flip Topic 3
Miller’s Law (Chunking)
Presentation Slides
Flip Topic 4
Manuel Lima’s 9 Directives Manifesto
Presentation Slides
INSTRUCTIONS
Exercise 1: Redesign an Infographic
Week 1
Process - Searching

|
| Figure 1.1. Process 1 |
I began by searching for bad infographics on Pinterest. It was a roughly
easy search as I know that dental clinics LOVE to create infographics and
they often turn out poorly. I stumbled upon this horrid infographic
(Figure 1.1., left). Surprisingly though, the QR code works and their
website is decent looking. So, as to why they have a meme-like infographic
beats me.
I then continued onto
Canva and searched
for infographic templates there. I went with the Monstera plant template
(Figure 1.1., right) as it is clean and simple.
Process - Redesigning

|
| Figure 1.2. Process 2 |

|
| Figure 1.3. Process 3 |
Since I took the Monstera template, the colours and fonts were not suited
for a professional dental clinic brand or a dental infographic. I started
by figuring the title, fonts and colour scheme. I went with a more fresh
& clean colour scheme while still allowing a cute/fun/friendly style
to seep in. I moved on to creating a rough layout with the 9 facts from
the original infographic while editing some of the points to be shorter. I
then needed their QR code but cropping it from their original just became
too pixelated, so I traced it out in AI instead, as seen in the bottom
left image of Figure 1.2.. I managed to find their logo on Google and
address & phone number on their website.
Figure 1.3. continues my process. The most left was a tester to find
illustrations of the same style as well as see the layouts. I looked for
illustrations on
Freepik as
they would have a variety of options. I downloaded a few different vector
packs that could pass off as the same style (barely) and changed their
colours to fit each other. I then went through the refining process with
the minor stuff such as spacing and the bubble decorations.
Final Outcome

|
| Figure 1.4. Original vs. Redesigned Infographic (left to right) |
Exercise 2: Quantify & Visualize Data
Week 1
Process - Coins

|
| Figure 2.1. Coin Data Process 1 |

|
| Figure 2.2. Coin Data Process 2 |
After staring at it awhile, I realised there were more ways to group and
arrange them rather than the one I created. That would be by manufactured
year and size respectively. So, I arranged them as so, as seen on the
right of Figure 2.1.
Once I had the idea, I stole coins from my sisters and arranged it all in
a more visually interesting manner, as seen in Figure 2.2.
Final Outcome

|
| Figure 2.3. My Coin Collection |
Exercise 3: L.A.T.C.H. Infographic
Week 2
Informational Research & Planning

|
| Figure 3.1. Pokemon Kanto Region Map |
|
| Figure 3.2. Pokemon World Map |
|
| Figure 3.3. Pokemon Kanto & Johto Region Map |
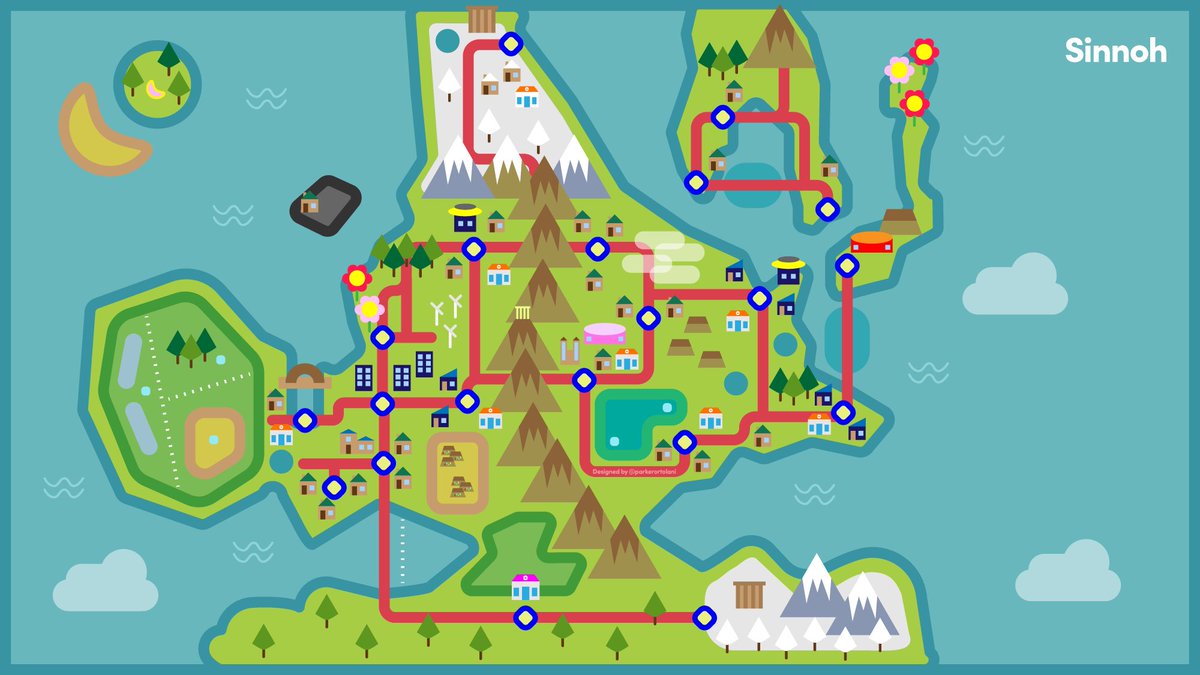
| Figure 3.4. Pokemon Sinnoh Region Map |


|
| Figure 3.5. Planning of Infographic |
From the 5 topic options given, I chose to go with Pokemon as it's what I am fairly familiar with and there are plenty of resources for me to refer to. I started by figuring out the grouping systems I could use by writing it down. I came up with:
1. Category - Pokemon Types (Grass, Poison, Fire, Flying, etc.)
2. Hierarchy - Stats (HP, Speed, Total Stats)
3. Location - Native Regions (Sinnoh-Diamond & Pearl, Kanto-Red Blue
& Yellow, etc.)
4. Alphabetical - Pokemon Names
I then progressed to looking at the maps and the pokemons found in each
map. I then drew out, very roughly, the map of Kanto and Johto in AI and
refered to Gen 1 (Red, Blue & Yellow) and Gen 2 (Gold, Silver &
Crystal). After going more in depth with the research of pokemons, I
realised it would be easier to stick with just 1 generation version
instead of 2, so I decided to work with Johto Gen 2 (Gold, Silver &
Crystal versions). I listed out the pokemons, where they are found, their
types and realised that I cant categorise both alphabetical and hierarchy
of stats. So, I changed heirarchy to the evolution of the pokemons, as
seen in Figure 3.5..
Infographic Process

|
| Figure 3.6. Infographic Process |
I worked in the 2048 x 2048 px canvas option given as it gave more space
for me to place my pokemon images. I downloaded all images of pokemon from
the
pokedex and placed all of them in my map. Once I had everyone in, I
narrowed it down to only a few different locations. I was picky with what
I included and removed as I wanted a variety of pokemon types while also
have the locations spread out around the map evenly. I eventually landed
with top left of Figure 3.6. I then cleaned up the layouts and colours, as
seen in Figure 3.6. (from top right - bottom left - bottom right). I
decided to change the light orange-brown to a lighter green (as seen in
the bottom 2 images of Figure 3.6.) as it was too distracting when the
main focus should be the pokemons.
Final Outcome

|
| Figure 3.7. Final Pokemon Infographic |
REFLECTION
Experience
These tasks were not particularly challenging but were fun exercises. I was a little confused with the Exercise 2: Quantify & Visualise Data but after seeing examples provided in the slides, it was clearer to understand what I was to do. This module was confusing in the beginning with there being multiple different pptx. links for every different thing. It was confusing to navigate but as the week passed, I got more familiar with the system.
Observations
These exercises were quite fun and simple. Im not entirely familiar with the Pokemon franchise, so it was fun to learn more about it. I never quite realised how complicated the pokemon's actually are. From Exercise 2: Quantify & Visualise Data, I realised that there are more interesting and creative ways to show a bar chart/graph.
Findings
Although I am familiar with how an infographic works and I have produced a few before, I never thought much about how the infographics were organised. I assumed it was mostly just logical instinct. It was interesting to learn that there is actual organised theory system behind it as it was something I never really knew about.
FURTHER READING
Chandra, N. (2018) “LATCH” : Information Architecture from the Eyes of an Urban Indian User! [Online] Medium. Available at: https://medium.com/@niveditachandra/latch-information-architecture-from-the-eyes-of-an-urban-indian-user-efd474a7bb37#:~:text=Richard%20Saul%20Wurman%20%E2%80%94%20the%20person,Time%2C%20Category%2C%20or%20Hierarchy.
Indraksh, A. (2020) Miller’s Law — Is there a magical number in UX design? [Online] Medium. Available at: https://uxdesign.cc/millers-law-is-there-a-magical-number-in-ux-design-7999f92ef7b8
Robinson, A. (n.d.) LATCH – Methods of Organization [Online] Wordpress. Available at: https://parsonsdesign4.wordpress.com/resources/latch-methods-of-organization/
Taei, P. (2021) 8 Best Types of Infographics and When to Use Them [Online] Wix. Available at: https://www.wix.com/blog/2021/06/types-of-infographics/
Tomboc, K. (2021) The 10 Types of Infographics (Uses, Examples, and Best Practices) [Online] PiktoChart. Available at: https://piktochart.com/blog/types-of-infographics/
Visual Complexity (2009) Information Visualization Manifesto [Online] Available at: http://www.visualcomplexity.com/vc/blog/?p=644
Web Design (2019) What is Miller’s Law? – The Psychology of Design (3/7) [Online] Available at: https://www.twohourssleep.com/what-is-millers-law-the-psychology-of-design-3-7/
West, C. (2020) 13 Types of Infographics You Should Be Creating [Plus Templates] [Online] Visme. Available at: https://visme.co/blog/types-of-infographics/
Comments
Post a Comment